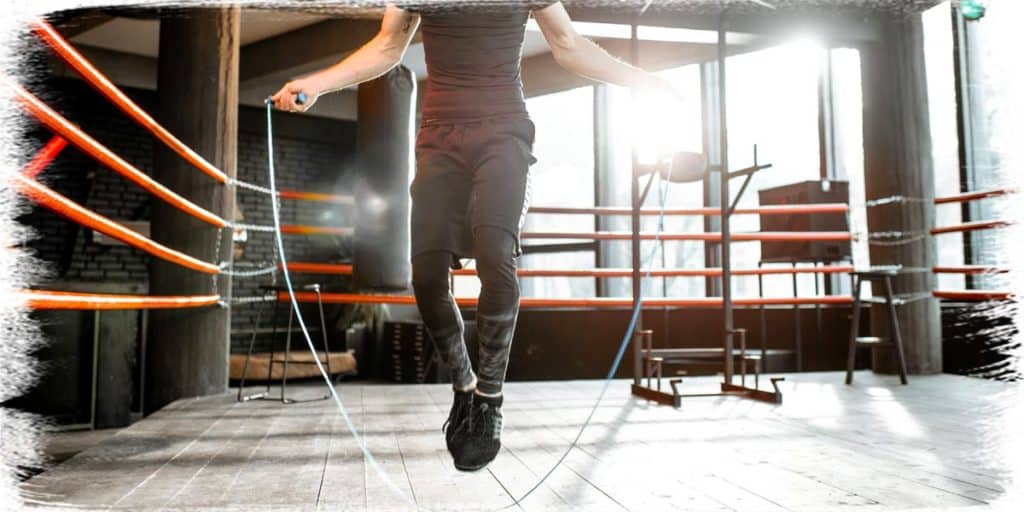
Jumping rope can be a great exercise activity for numerous reasons: improving cardiovascular fitness, improving coordination, burning plenty of calories, and it can be done nearly anywhere. Unfortunately, it can also be notorious for wreaking havoc on one’s feet and ankles while doing it. Thankfully, there are some great tips to help ensure you minimize or eliminate this issue if you happen to be experiencing this sort of issue.
To avoid foot and ankle pain when jumping rope, you need to start out gradually, avoid jumping too high, avoid landing too hard, wear appropriate footwear and experiment with interval jumping rather than continuous jumping. These strategies can eliminate stresses that cause foot and ankle pain.
If you want the complete breakdown of each of these tips and want to see why they can be so effective with reducing foot and ankle pain during your rope skipping/jumping, be sure to keep on reading, as I’ll be breaking each one down in detail!
There’s undoubtedly some skill that goes into being able to jump rope, but it’s also a bit of an art. And whenever art is involved, there is room for individual technique and experimentation. The tips below are a good starting point to experiment with as you work to keep your feet happy and pain-free as you jump away.
ARTICLE OVERVIEW
Simply click/tap on any of the following bulleted headlines to jump to that individual section of the article.
Tip 1: Be patient if you’re just starting out
Tip 2: Keep your jump height low
Tip 3: Land from each jump as quietly as possible
Tip 4: Try switching up patterns when things get sore
Tip 5: Check your footwear
Tip 6: Opt for jumping intervals over continuous jumps
Related article: How to Strengthen Your Ankles While Sitting Down (Easy to do)
Disclaimer: While I am a physical therapist, I am not YOUR physical therapist. As a result, I cannot tell you whether or not any treatments mentioned on this website or in this article may or may not be appropriate for you, including jumping or skipping rope. By following any information within this post, you are doing so at your own risk. You are advised to seek appropriate medical advice for any pain you may be experiencing.
Tip 1: Be patient if you’re just starting out
There’s undoubtedly some skill that goes into being able to jump rope, but it’s also a bit of an art. And whenever art is involved, there is room for individual technique and experimentation. The tips below are a good starting point to experiment with as you work to keep your feet happy and pain-free as you jump away.
If you have a history of foot and/or ankle injuries, you’ll want to keep those in mind as they could be causing or contributing to any discomfort you’re feeling when skipping/jumping rope.
If you’re new to jumping rope, the tissues and joints in your feet and ankles may not be conditioned or ready to take the repeated forces that will be running through them each time you jump up and down. While there are ways to reduce the amount of force that these tissues experience with each jump (see some of the tips below), your best bet is to start with a lower volume (number of repetitions) of jumps or hops for each session and each week and scale up from there.
It’s no different than performing strength training exercises to get your muscles stronger and healthier — gradually increasing the amount of work your muscles are exposed to allows them to adapt appropriately without being overloaded and becoming painful.
How to scale up your rope jumping appropriately
There are a couple of different ways you can scale things up. The main two ways this scaling can be accomplished is with either slowly ramping up either the volume (amount) of rope skipping you do within each workout (and subsequently throughout each week) or the frequency of your rope skipping.
In some circumstances, it may be worth slowly ramping up both, but if you have no significant issues, you may be just fine with only focusing on one of the two. Suppose you opt to ramp up the weekly frequency. In that case, you may want to start with two or three times per week and throw in an additional session each week or every two weeks and repeat this process until you’re able to skip seven days a week (if that happens to be your goal).
Should you opt to slowly ramp up the volume (amount) of rope skipping that you do for each session, I would suggest experimenting with the 10% rule. This rule states that you increase the number of rope skips or time spent skipping by 10% for each subsequent session you partake in until you’re where you’d like to be without experiencing any pain.
So, if you did 500 skips for a session, the 10% rule would have you do 550 (500 x 1.1) for the next session, followed by 605 (550 x 1.1), etc. This is often a safe way to scale up in training volume while giving your tissues in your feet and ankles time to adapt.
Regarding this rule based on skipping for overall time: if you were able to jump rope for 5 minutes for your first session, you may want to try for 5.5 minutes for the next session, then approximately for 6 minutes the next session, and so on.
The 10% rule isn’t a hard and fast one by any means. Still, it can be a great way to slowly and safely ramp up your rope skipping endeavors until your feet and ankles are well adapted to the amount and frequency of your rope skipping.
Tip 2: Keep your jump height low
While building up the amount of rope jumping that your feet and ankles can tolerate can take some time, one of the most instantaneous changes you can make to keep your feet and ankles happy is to avoid jumping excessively high each time you hop, skip, or jump over your rope.
The higher you jump, the more force your muscles have to produce to propel your body off of the ground, and subsequently, the more force they have to absorb each time you land. This may not seem like a big deal, but when considering the number of times this occurs when jumping or skipping rope, even the smallest of excessive forces can add up rather quickly.
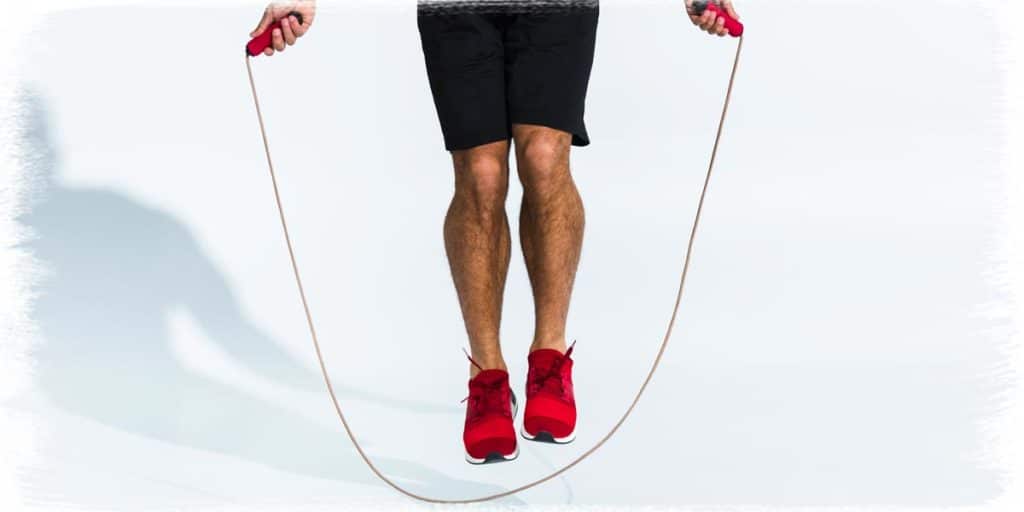
Your goal should be to jump only as high as you need to clear the rope beneath your feet, which should only be an inch or so for the average person when performing a single rope pass beneath the feet for every jump. (You’ll likely need to jump higher if performing “doubles,” where the rope passes underneath your feet twice with each jump you perform.)
Tip 3: Land from each jump as quietly as possible
A second instantaneous change you can make to help keep pain from arising in your feet and ankles is to try to land as quietly as possible from each jump. A softer landing means that you’re absorbing more of the landing force through your entire body than when landing with stiff, hard feet and knees.
When forces are absorbed, the stress that these forces produce is dissipated elsewhere in the body. The result is less stress being placed upon the tissues in your ankles and feet.
By landing as quietly as possible, you are dissipating these forces mentioned above. If you notice that your feet are “stomping” the ground and making noise, you’re likely running more force into your feet and ankles than necessary. This can take a bit of practice to get used to if you’re used to “landing heavy,” but it’s well worth the practice. Soft, quiet landings will save your feet and ankles a world of discomfort and frustration.
Pro tip: If you’re having a hard time changing your ability to land softly and find that it’s throwing you out of rhythm when jumping or skipping rope, try practicing a bit without using the rope. This can help you get acquainted with a different landing style without worrying about getting caught up in the rope.
Tip 4: Try switching up patterns when things get sore
Even if you’ve taken the appropriate amount of time to scale up your rope jumping or skipping and you’ve mastered low jump heights and soft landings (see previous tips), you may still find your ankles and feet getting sore with rope jumping or skipping.
If this is the case, it may be worth experimenting with using different patterns to see if one pattern is more tolerable than another.
This is actually a technique I use all the time for myself; my feet tend to get a bit sore/fatigued after a few hundred double-leg jumps, at which point I switch up to an alternating foot pattern for the next couple of hundred skips.
By trial and error, I’ve learned that this little “on the fly” switch, for whatever reason, makes the bottoms of my feet feel less fatigued. Once I feel like this fatigue is gone, I tend to switch back into the double-leg jump pattern and can then continue on for another couple of hundred skips before repeating the process.
Finding patterns that your feet may prefer or that can temporarily offload the stress going through your feet can be a great worthwhile endeavor. Don’t be afraid to experiment and see what works best for you!
Related article: Seven BRILLIANT Ways To Actually Make Cardio Enjoyable (Seriously)
Tip 5: Check your footwear
Feet can be pretty complex structures, anatomically speaking. As a result, everyone’s needs can be slightly different when it comes to the type of footwear that can serve them best for activities such as jumping or skipping rope.
While the role of footwear and orthotic support can get quite controversial depending on which experts you talk to, as a general rule, shoes with cushioning and foot (arch) support can make jumping rope more comfortable for the average individual. Still, most people find that footwear that is light and offers some form of a cushion can make jumping or skipping rope much more comfortable overall.
The authors of a study examining the effects of different mid-sole hardness of shoes when jumping rope suggest that a shoe with a soft mid-sole is appropriate for sports and activities involving repetitive jumping/impact.1 Of course, this is only one study.
What does this mean for you? Well, if you’re trying to jump rope in your old, worn-out tennis shoes that you’ve been wearing every day for years, it may be worth picking up a pair dedicated to your fitness endeavors.
While I wouldn’t necessarily advocate buying a pair of shoes just for jumping or skipping rope, having a dedicated pair that you can use for all of your fitness activities (including when using your rope) can be a good investment to keep those feet of yours happy and healthy.
Tip 6: Opt for jumping intervals over continuous jumps
If you find that your feet can only tolerate a certain amount of rope work before becoming sore or uncomfortable, this tip is likely for you and just might be the “secret sauce” you need when it comes to getting a great workout in without driving your feet and ankles nuts.
If you feel that you’re doing all the right things (following the above tips) and still find your feet or ankles to be unhappy with your ropework after only a minute or two of swinging the rope around, trying interval-style jumping might be an excellent strategy for you.
Choosing to jump for shorter durations of time a handful of times in a single session can yield just as excellent (if not even better, depending on your goals) results.
Rather than trying to jump for one single, long continuous duration of time, performing multiple sets where you jump for a shorter period (followed by a short rest break) can be very beneficial while also sparing your feet from the agony they may otherwise feel.
Final thoughts:
It’s pretty hard to jump rope on a regular basis (if at all) when your ankles wind up screaming at you each time you try and do so. While ankles and feet are complex structures in terms of their anatomical composition, the tips in this article are straightforward. They can make a significant improvement in reducing and eliminating the pain that may be arising from inadequate technique or execution.
Don’t be afraid to continually try slight variations to your technique and overall jump rope training once you’ve implemented the tips within this article. Doing so will help further enhance and refine your jump rope mechanics, which will further reduce the likelihood of incurring any ankle or foot pain throughout your jump rope pursuits.
Keep on jumping towards your goals, whatever they may be!
References:

Hi! I’m Jim Wittstrom, PT, DPT, CSCS, Pn1.
I am a physical therapist who is passionate about all things pertaining to strength & conditioning, human movement, injury prevention and rehabilitation. I created StrengthResurgence.com in order to help others become stronger and healthier. I also love helping aspiring students and therapists fulfill their dreams of becoming successful in school and within their clinical PT practice. Thanks for checking out my site!

