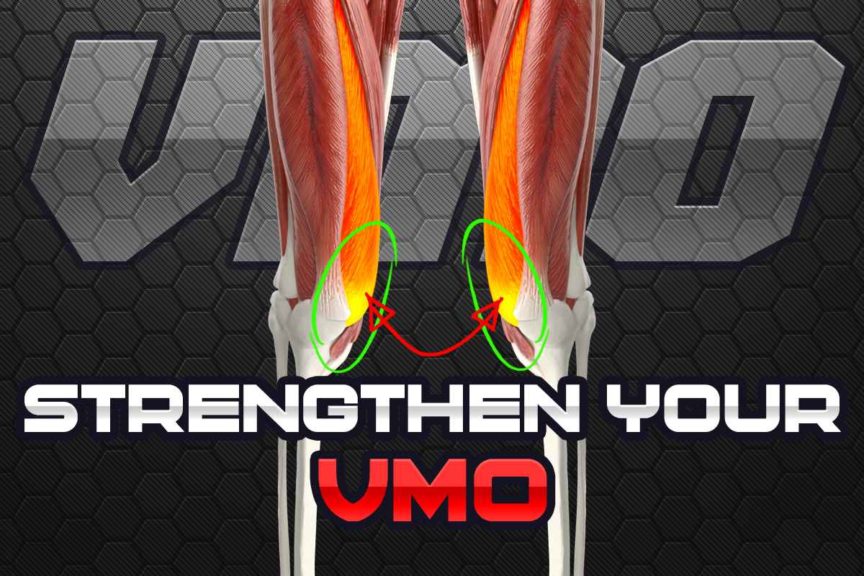
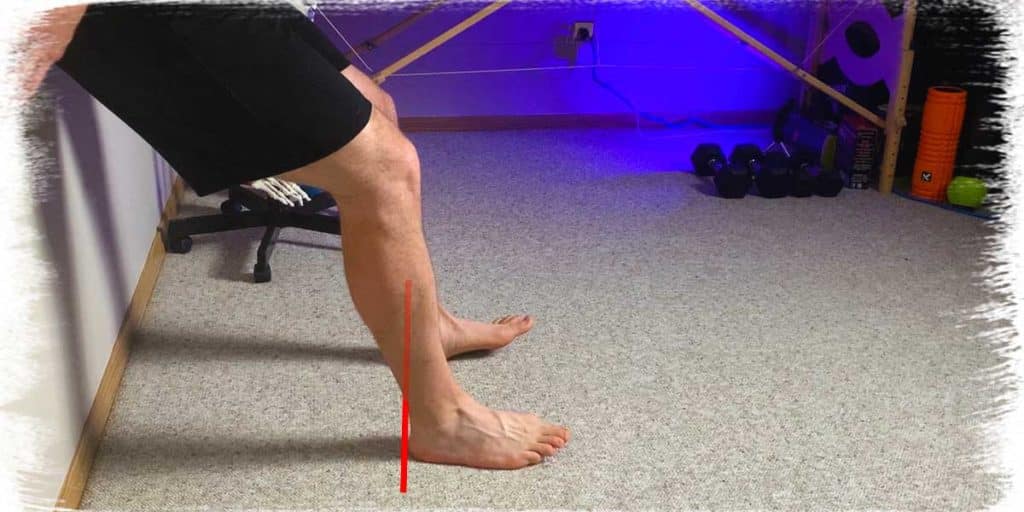
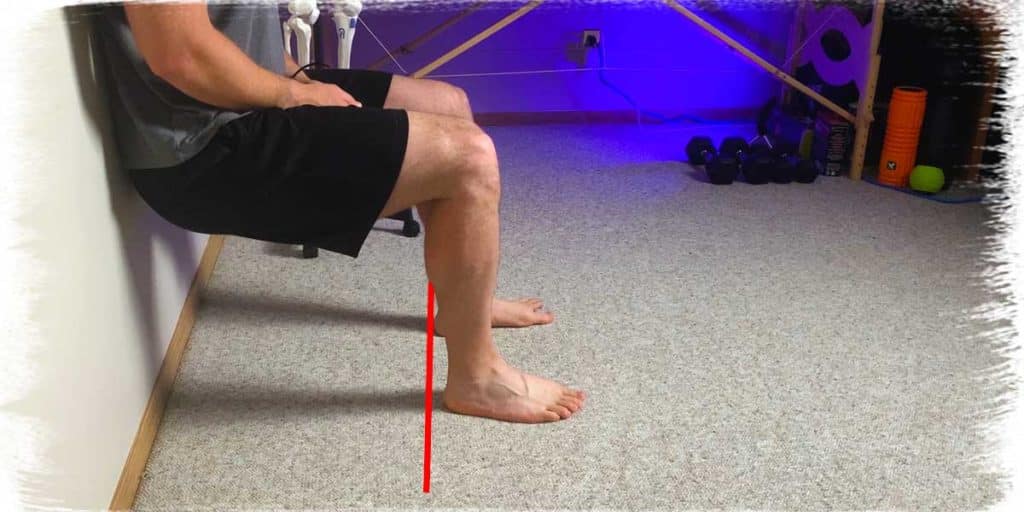
When it comes to injury rehabilitation and general strengthening of the vastus medialis obliquus (VMO) muscle, there are a lot of ways to go about doing so, all of which depend on many factors of the individual.
But if you’re looking for just one exercise and one that can be done without any exercise equipment, a specifically modified version of the wall sit may be the winning ticket.
Electrical activity of the VMO has been shown to be incredibly high in the modified wall sit position, often making it a profoundly effective exercise for activating and strengthening this muscle. The modified wall sit can therefore be a great exercise for improving VMO activation and strength.
If you want to learn how to do this exercise and how to make it most appropriate for you, then keep on reading!
ARTICLE OVERVIEW (QUICK LINKS)
Click/tap any of the following headlines to jump to that section of the article!
– A brief rundown on the VMO
– How to perform the modified wall sit
– Bonus: How this exercise was discovered to be incredibly effective
– Final thoughts
Related article: Knees Over Toes Mobility: Unlock Your Mobility With These Techniques
Disclaimer: While I am a physical therapist, I am not YOUR physical therapist. As a result, I cannot tell you whether or not any treatments or training methodologies mentioned on this website or in this article may or may not be appropriate for you, including performing VMO strengthening exercises. By following any information within this post, you are doing so at your own risk. You are advised to seek appropriate medical advice for any pain you may be experiencing.
A brief rundown on the VMO
In order to know what you should be looking for (and feeling) with this exercise, it’s probably a good idea to have a quick run-through on some of the specifics of the VMO, particularly with what it does and what happens when it’s not as neurologically active or strong as it should be.
Anatomy and function
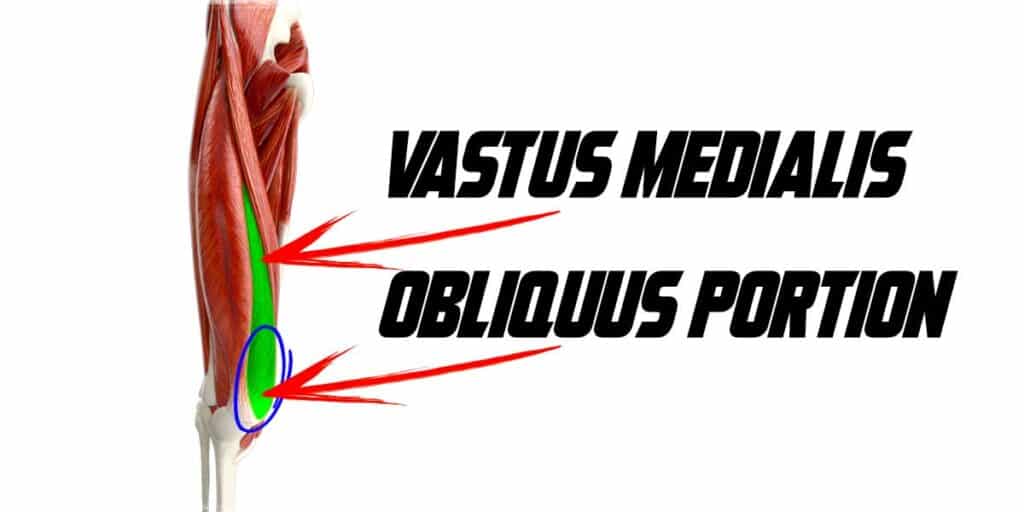
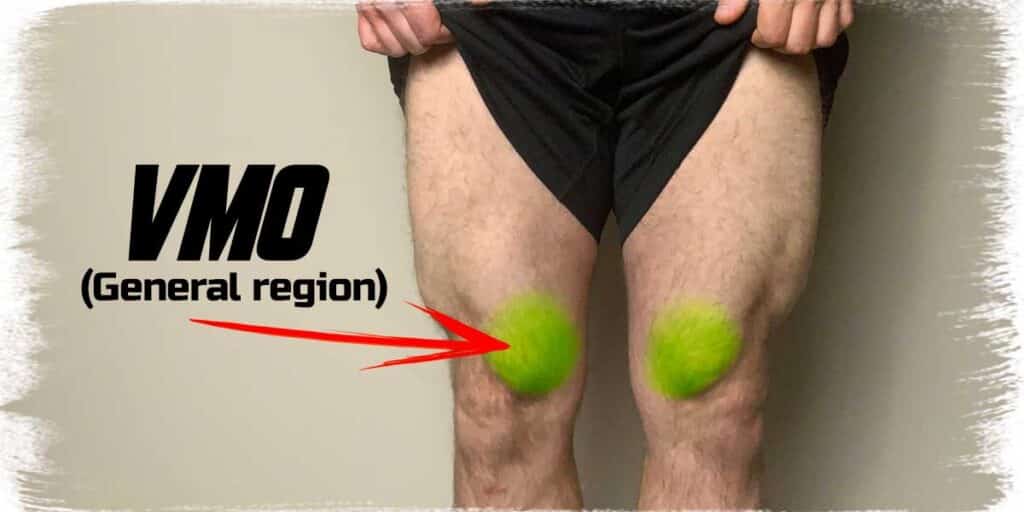
The quadriceps muscles comprise four muscles on the anterior (front) of the thigh. One of these muscles is known as the vastus medialis. It’s located on the inner side of the thigh, with its bottom portion having its fibers running in a more diagonal pattern than its upper fibers. This specific portion of the muscle is known as the vastus medialis obliquus.
While some argue that the VMO remains a little bit mysterious in terms of knowing its exact function(s), it’s well known that this portion of the muscle has a high propensity to atrophy (shrink) and weaken in its strength output after injury or long periods of inactivity (think ACL reconstruction, as an example).
After specific injuries to the knee or periods of inactivity, particular issues can arise around the knee, which will be discussed in the following subsection of this article.
What happens when the VMO underperforms
When the VMO underperforms, it can lead to various issues around the knee that result in physical pain and decreased performance. While the specifics are beyond the scope of this article, these issues can range from altered tracking of the patella (knee cap), known as patellofemoral syndrome, decreased stability and control of the joint, and reduced strength with knee movements such as climbing stairs and squatting.
If you want to read up on the specifics of the VMO and some of these issues, you can check out the following journal articles (click/tap for the link):
- Regional vastus medialis and vastus lateralis activation in females with patellofemoral pain.
- Vastus lateralis motor unit firing rate is higher in women with patellofemoral pain.
- Effects of vastus medialis oblique retraining versus general quadriceps strengthening on vasti onset.
- Delayed onset of electromyographic activity of vastus medialis obliquus relative to vastus lateralis in subjects with patellofemoral pain syndrome.
- The test-retest reliability of the onset of concentric and eccentric vastus medialis obliquus and vastus lateralis activity in a stair stepping task.
How to perform the modified wall sit
What’s great about this VMO exercise is that it doesn’t require any special equipment, only a wall (which is hardly specialized). Just make sure that you have secure footing so that your feet won’t slip out underneath you when you perform the required position.
Here’s what to do:
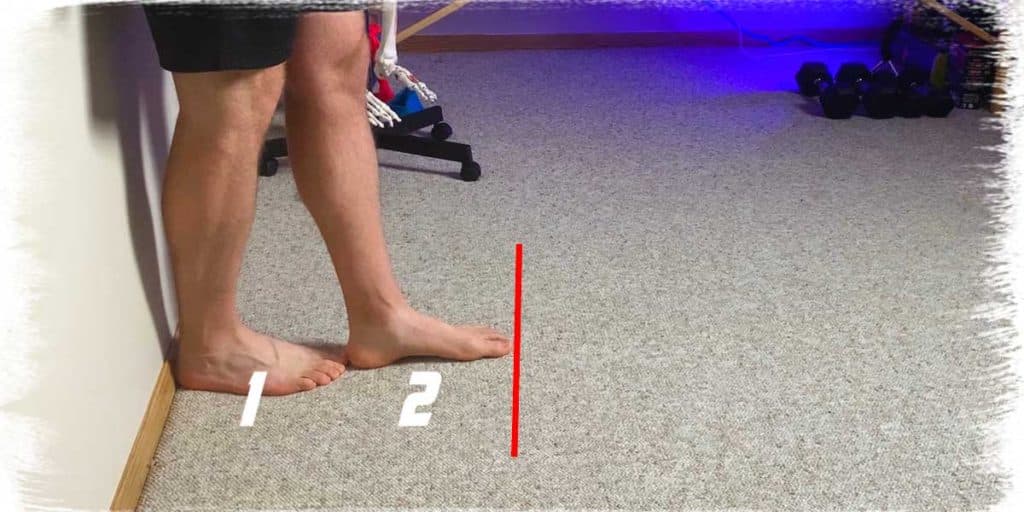
- Start by placing your heel against the wall that you will be leaning up against.
- Next, take TWO heel-to-toe steps away from the wall (this equates to the knee position when performing the wall sit that has been shown to maximally recruit the VMO).
- Lean back onto the wall and squat down until the top of your thighs are parallel with the ground.
- Your goal is to have the strength and endurance to hold this position for upwards of five minutes (yes, that’s no small task, but is very achievable with healthy knees and muscles to support them).
- When your legs have had enough, push yourself out of the position and stand back up.
Pro tip: If you don’t have the ability (for one reason or another) to squat down to the standard depth, just go down as far as you reasonably can. You will still challenge your quadriceps muscles, including your VMO. As time goes on, you can increase your squat depth against the wall as your knee strength and health improves.
Related article: Faster Exercise Recovery: How to Remove Lactic Acid After A Workout
How often to perform this exercise
The frequency to which you perform this exercise will vary depending on individual factors pertaining to your overall condition, knee health, and stage of rehab (if coming back from an injury).
As a very general rule: performing this wall sit once a day or every other day may be an ideal starting point. Performing one maximal-time hold or three or four sub-maximal time holds within a single session may also prove to be appropriate. When in doubt, start with a lower frequency and intensity and scale up as you gain familiarity with your abilities.
Bonus: How this exercise was discovered to be incredibly effective
The story behind how this exact knee position was discovered to be so demanding on the VMO is always fun to tell, so I thought I’d include it.
The story is that when performing scientific studies examining which knee angle was most challenging on the VMO when performing the wall sit, Dr. Paul Hodges and his peers ran a study where they were measuring the electrical activity of the VMO through fine-wire EMG when they came across quite the surprise:
When they put the knee into the position described within this position for the wall sit, the electrical output reading on the machine measuring muscle activity was so high that they thought the device was broken!
But as they repeated the position (along with others), it became clear that the knee position described within this article consistently yielded the highest electrical output of the VMO over any other knee positions used for the wall sit.
Pretty cool, eh?
Final thoughts
There are all sorts of powerful and effective ways to rehabilitate and strengthen the VMO. Much of it is dependent upon specific factors relating to the individual’s condition and overall abilities.
If you’re looking for a VMO activation and strengthening exercise that you can do without any fitness equipment, this modified wall sit described above may be just the ticket for you. It has been shown by some of the best physiotherapists and researchers out there to seriously wake up and challenge your VMO when done correctly.
Just make sure that it’s appropriate for you, based on your individual needs. And, if it is, try to last up to five minutes!
Have fun!

Hi! I’m Jim Wittstrom, PT, DPT, CSCS, Pn1.
I am a physical therapist who is passionate about all things pertaining to strength & conditioning, human movement, injury prevention and rehabilitation. I created StrengthResurgence.com in order to help others become stronger and healthier. I also love helping aspiring students and therapists fulfill their dreams of becoming successful in school and within their clinical PT practice. Thanks for checking out my site!

